

Overview
SUNY Oneonta’s World Languages and Literatures Department offers a variety of courses in language, culture, civilization and literature, a wide range of overseas programs, and a committed and engaging faculty. You can major or minor in French or Spanish, or prepare for language education. Courses build strong language skills and cultural understanding through literature, film, history and global perspectives.
Explore World Languages and Literatures Programs
You can study Spanish or French as a major or teaching concentration.

You can study Spanish or French as a minor or teaching concentration.


Teaching Certification
You can satisfy the master’s degree requirement for professional teaching certification in New York State by majoring in Adolescence Education with a concentration in French or Spanish and then completing one of our K-12 Master’s Degree programs. The Office of Teaching Initiatives of the NYS Education Department describes four possible routes to an acceptable master’s degree for professional certification in New York state.
Why Study a Foreign Language?
Proficiency in speaking a foreign language and a mature, informed appreciation of foreign cultures and literatures open doors to many professions. For this reason, an education in Spanish or French and Francophone Studies provides ideal preparation for careers not only in academics but also in a wide range of fields, from law and diplomacy to journalism and the arts. Other graduates work in elementary and secondary education, business, government and a variety of non-governmental agencies and international organizations. Consult the office of Career Planning and Networking to learn more about what career paths you can pursue with your major.
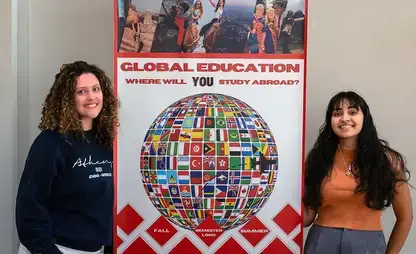
Student Opportunities
Study abroad through 800+ SUNY programs, join faculty-led courses to Spanish- and French-speaking countries, and explore international internships while building language skills.
Contact
Schumacher Hall 300
108 Ravine Parkway
Oneonta, NY 13820
United States