Tools
Insert Special Character (see video below)
Font Awesome (see video below)
Unlink
Blockquote
Show Blocks
Insert Video
Formatting Styles
View Source
Maximize
Tool Highlights
Tooltips are useful in providing definitions or brief explanations to accompany uncommon words or phrases. Tooltips have a dashed red line under the text (where traditional links have a solid red line), and when a user hovers their cursor over (or taps) this text, a popup box appears that displays the supporting text.
This is an example of a tooltip.
Step By Step Guide
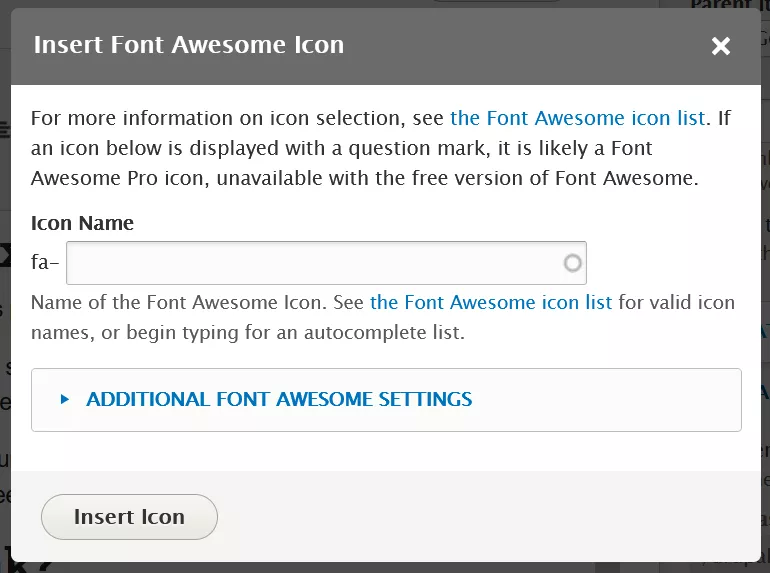
To add an icon, click the ‘fa’ icon in the WYSIWYG editor toolbar, you will be prompted to type in the name of the icon you want to insert into the page. The search works quite well, but there is also a link to the full list of icons available—enter the name to search for it, and select it from the list that is populated. The default size is quite small—under additional settings, you can change the size, just be sure to scroll to the bottom of the window and click “Insert Icon”.
In this overview we’re going to remove the formatting from text copy and pasted from a word or PDF document. We do this to remove any hidden fonts and text sizes Office or Adobe adds to your pasted content so we can use it on the web page.
- Copy the text from the Word document or other source.
- Paste the text into the WYSIWYG editor.
- Highlight the text and click the Remove Format tool in the WYSIWYG editor toolbar.